Welcome to our comprehensive developer guide for deploying Cal.diy on AWS! Cal.diy is the open-source, self-hostable community edition of Cal.com, and with our pre-configured AMI, you can get it running in your own AWS environment in minutes.
This guide will walk you through every step, from launching the AMI to configuring your domain and securing your instance. Let's get started!
Cal.com vs. Cal.diy
Since April 2026, Cal.com's hosted product has been closed-source. The open-source self-hosting codebase was relaunched separately as Cal.diy under the MIT license, and is officially recommended for personal and non-production use. This guide deploys Cal.diy.
Video Guide
Prerequisites
Before you begin, make sure you have the following:
- Basic knowledge of AWS services, including EC2 and CloudFormation.
- An active AWS account with the necessary permissions.
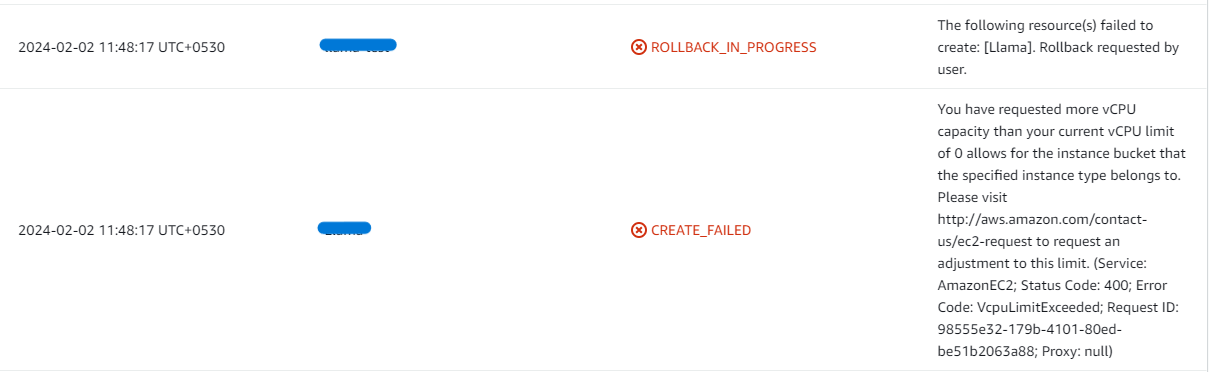
- Sufficient vCPU quota to launch new instances. If you need to increase it, follow this guide.
Launching the Cal.diy AMI from AWS Marketplace
Step 1: Subscribe to the AMI
- Navigate to the 'Cal.diy' listing in the AWS Marketplace.
- Click the Continue to Subscribe button.
- Accept the terms and conditions by clicking Accept Terms.
- After a brief processing period, click Continue to Configuration.
Step 2: Configure and Launch
- On the "Configure this software" page, select your desired AWS region.
- Click Continue to Launch.
- From the "Choose Action" dropdown, select Launch CloudFormation.
- Click Launch. This will redirect you to the CloudFormation console to create a new stack.
Deploying with CloudFormation
Step 1: Create Stack
- You'll be taken to the "Create stack" page. Ensure the "Template is ready" option is selected.
- Click Next.
Step 2: Specify Stack Details
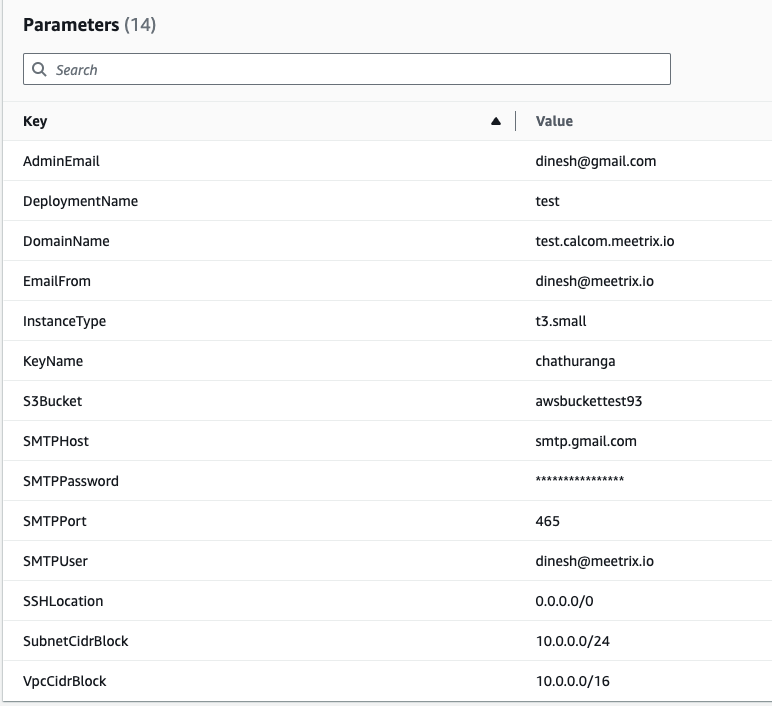
Provide the necessary parameters for your Cal.diy deployment. These settings define how your instance will be configured.
| Parameter | Description |
|---|---|
| Stack name | A unique name for your CloudFormation stack (e.g., my-caldiy-deployment). |
| Admin Email | The email address for generating SSL certificates with Let's Encrypt. |
| DeploymentName | A name for your deployment (e.g., caldiy). |
| DomainName | Your public domain name (e.g., caldiy.yourdomain.com). SSL will be set up automatically if the domain is hosted on Route 53. |
| EmailFrom | The "From" email address for outgoing emails (e.g., noreply@yourdomain.com). |
| InstanceType | The EC2 instance type. We recommend t3.small or larger for optimal performance. |
| KeyName | The name of your EC2 key pair for SSH access. |
| S3Bucket | An S3 bucket name for storing PostgreSQL database backups. |
| SMTPHost, SMTPPassword, SMTPPort, SMTPUser | Your SMTP server details for sending emails. |
| SSHLocation | The IP address range for SSH access. Defaults to 0.0.0.0/0 (open to all). For better security, restrict this to your IP. |
| SubnetCidrBlock | The CIDR block for the subnet. Defaults to 10.0.0.0/24. |
| VpcCidrBlock | The CIDR block for the VPC. Defaults to 10.0.0.0/16. |
After filling in the details, click Next.
Step 3: Configure Stack Options
- Under "Stack failure options," choose Roll back all stack resources. This ensures that failed deployments are automatically cleaned up.
- Click Next.
Step 4: Review and Submit
- Review all the details you've entered.
- Acknowledge that CloudFormation might create IAM resources by ticking the checkbox.
- Click Submit to start the deployment.

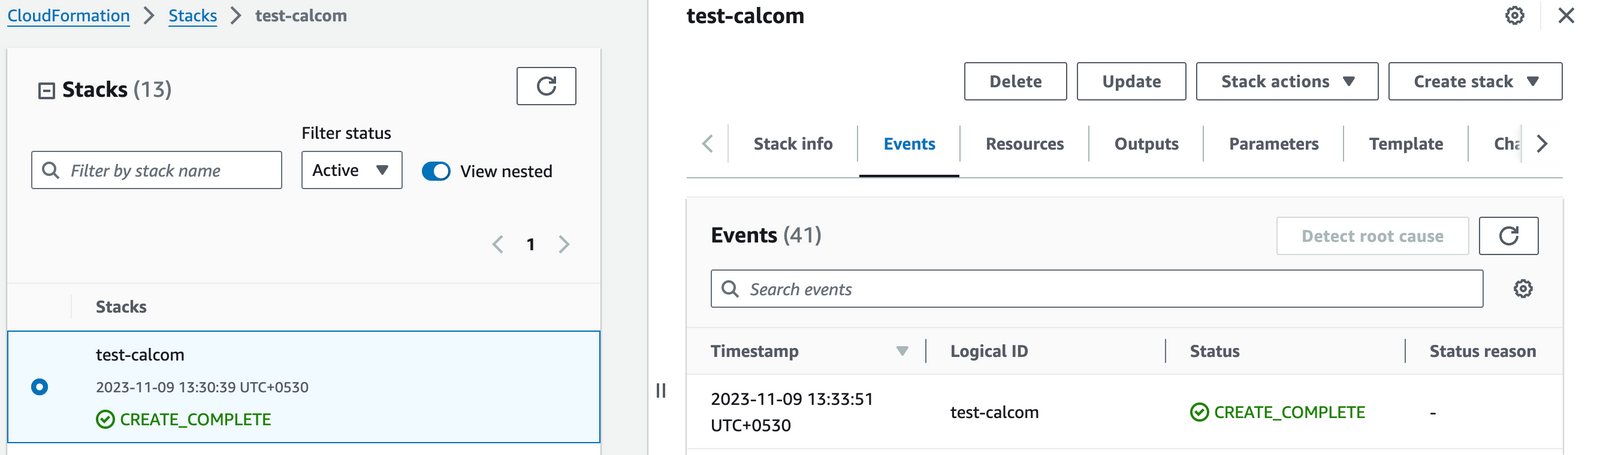
You will be redirected to the CloudFormation stacks page, where you can monitor the deployment progress.
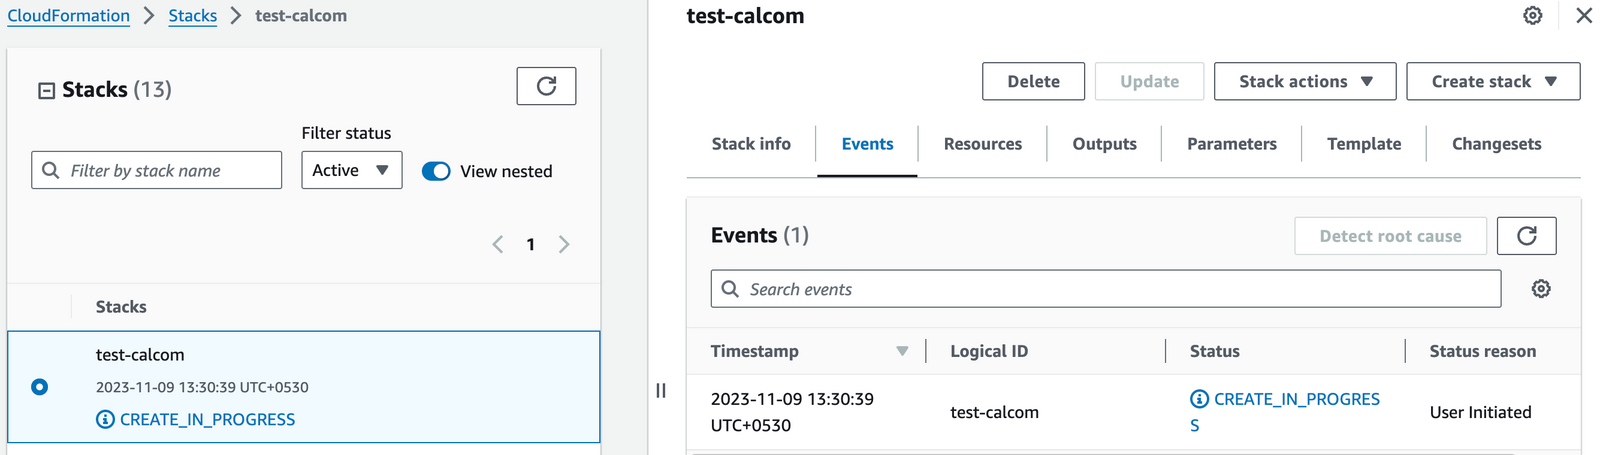
The stack creation process typically takes 5-10 minutes. Wait for the status to change to CREATE_COMPLETE.
Configuring Your DNS
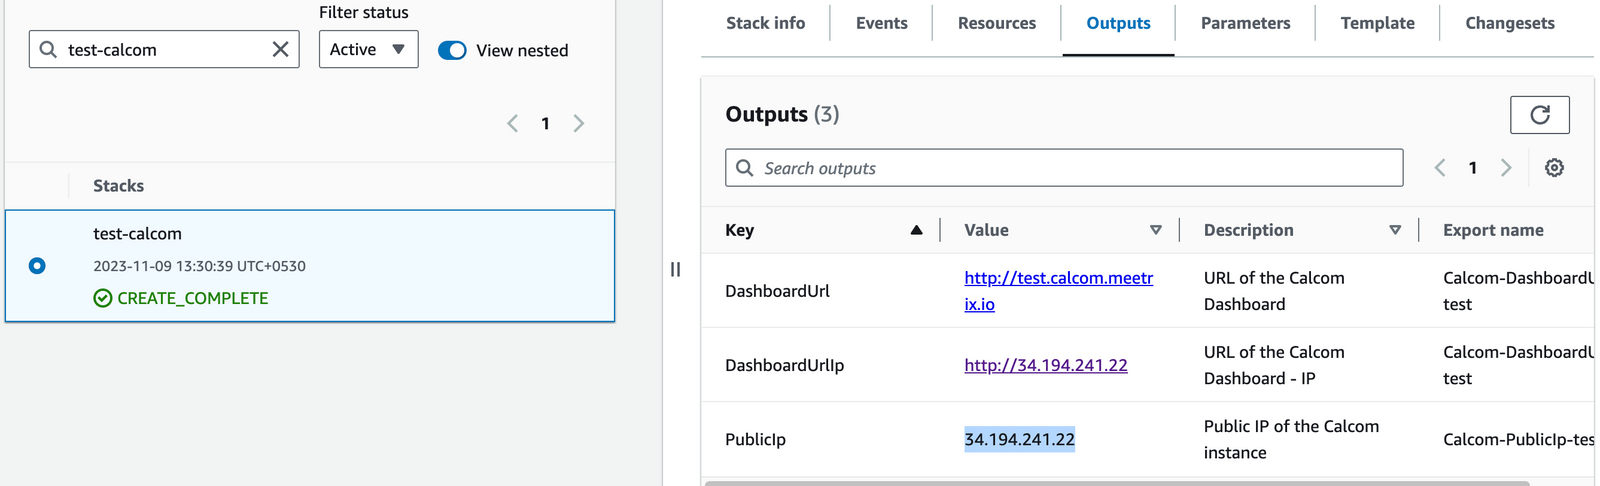
Step 1: Get the Public IP Address
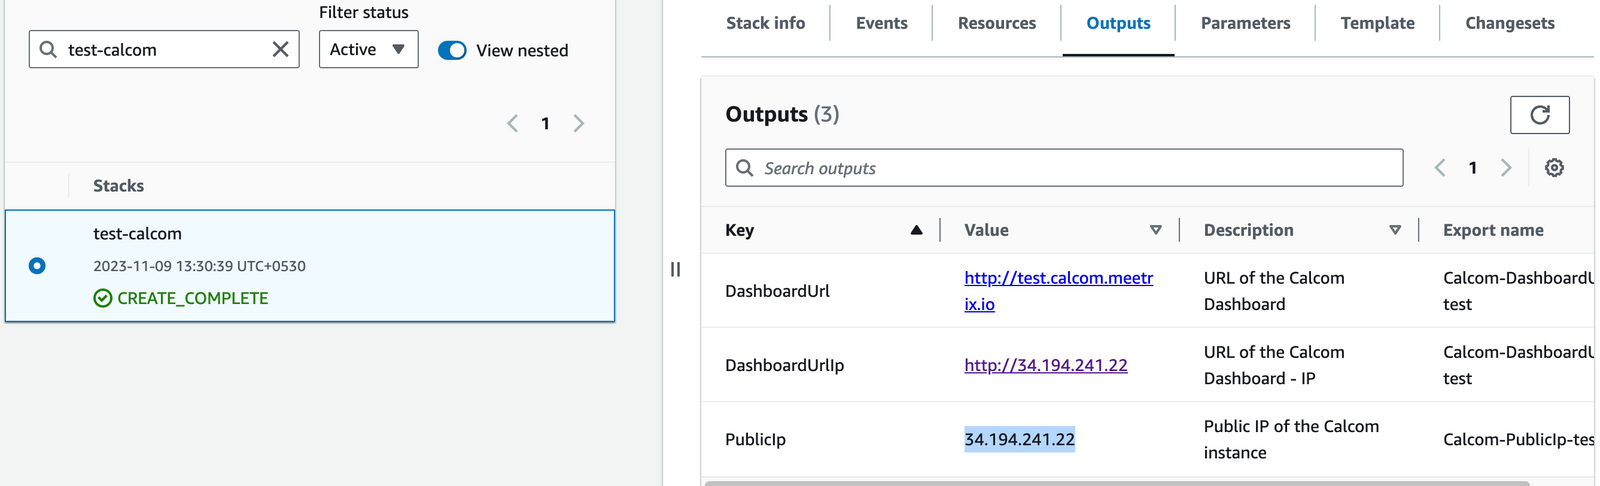
Once the stack is created, go to the Outputs tab and copy the value of PublicIp.
Step 2: Create a DNS Record
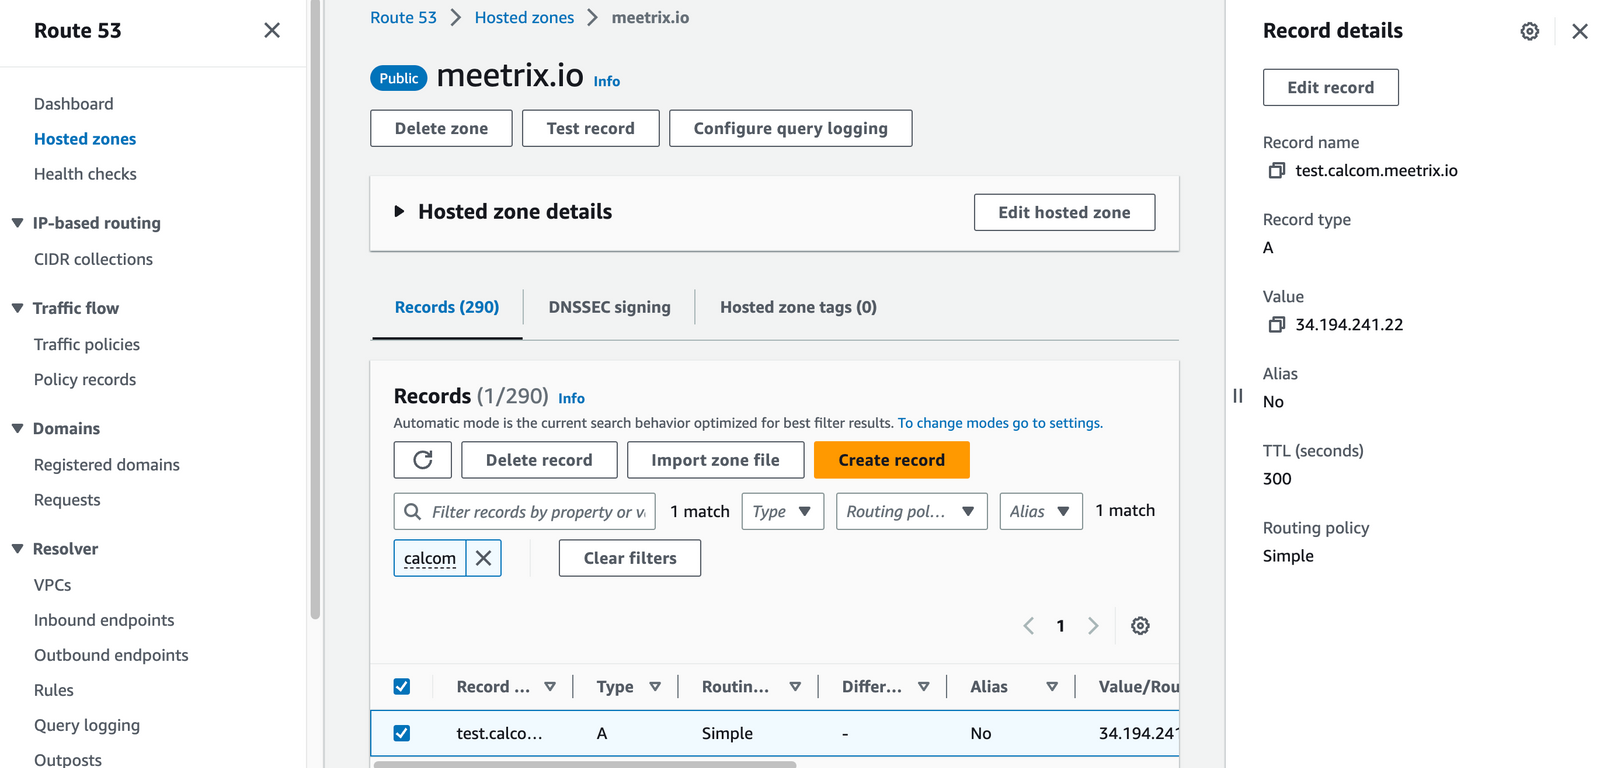
- Go to your DNS provider (e.g., AWS Route 53, GoDaddy, Cloudflare).
- Create an A record for your domain (e.g.,
cal.yourdomain.com). - Point the record to the PublicIp you copied in the previous step.
- Save the record.
Accessing Your Cal.diy Instance
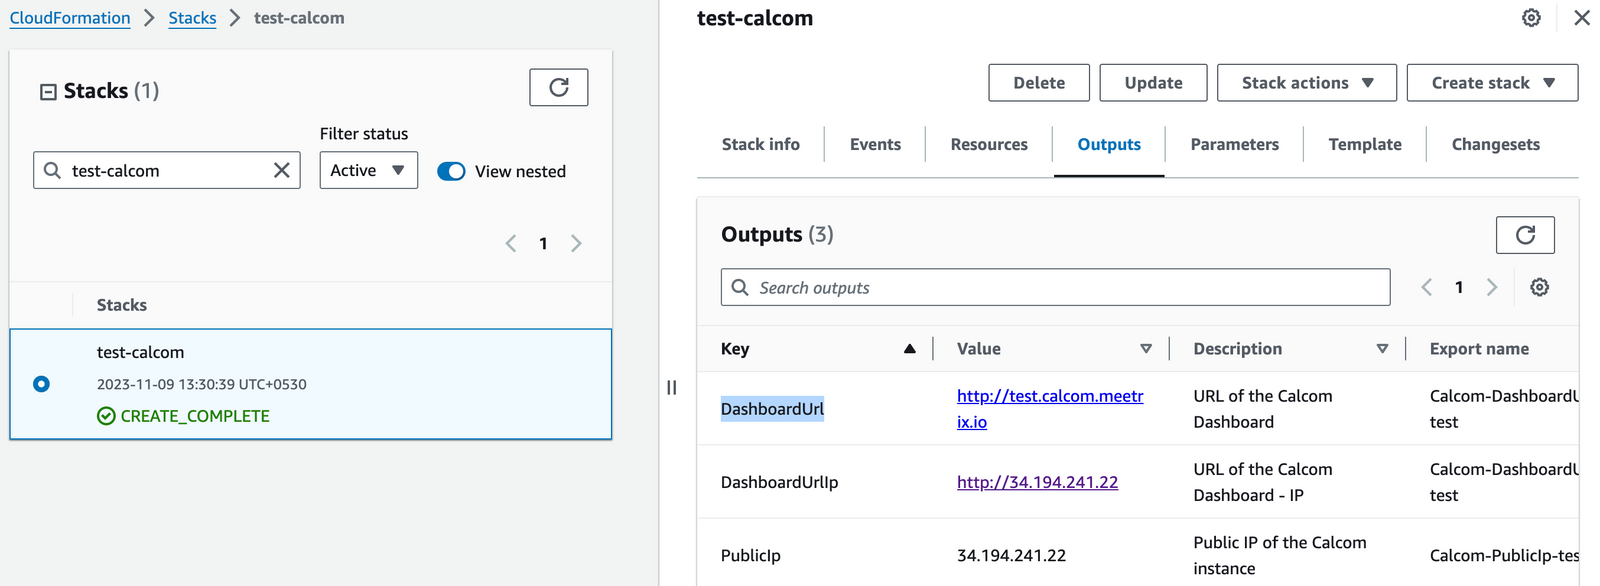
You can now access your Cal.diy application using the DashboardUrl from the CloudFormation "Outputs" tab.
502 Bad Gateway Error?
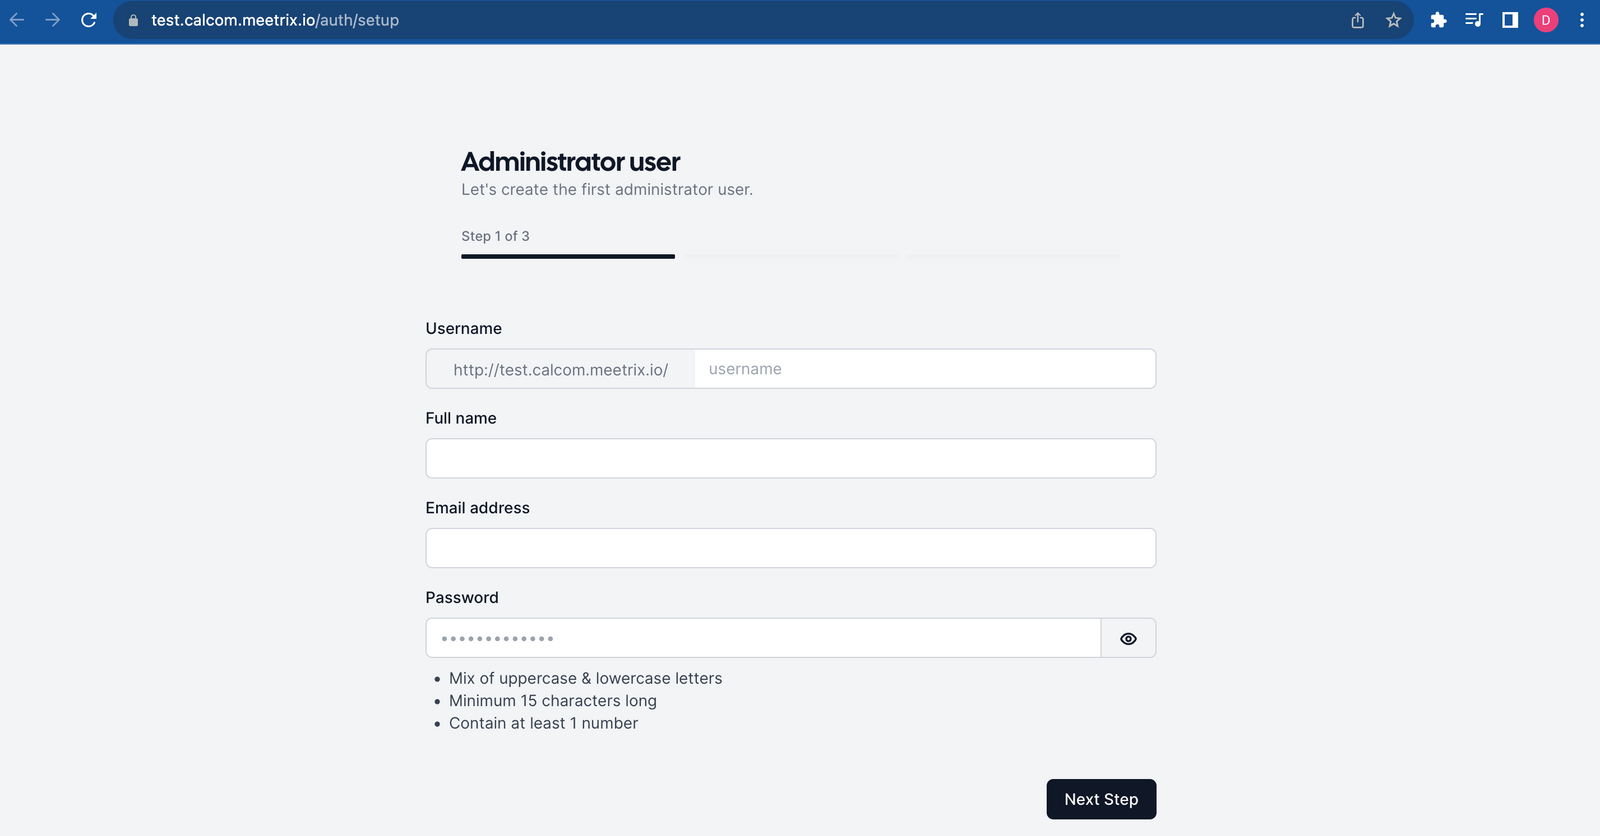
Manual SSL Certificate Generation
If your domain is not hosted on Route 53, the automatic SSL setup might fail. In that case, you'll need to generate the certificate manually.
Step 1: SSH into the Server
- From the CloudFormation "Outputs" tab, copy the PublicIp.
- Open your terminal and use the following command to connect to the server. Replace
your-key.pemwith your key pair file.
ssh -i "your-key.pem" ubuntu@<Public IP address>Step 2: Run the Certificate Script
Once logged in, run the following script. It will prompt you to enter your domain name and email address.
sudo /root/certificate_generate_standalone.shManaging Your Cal.diy Instance
Shutting Down and Restarting
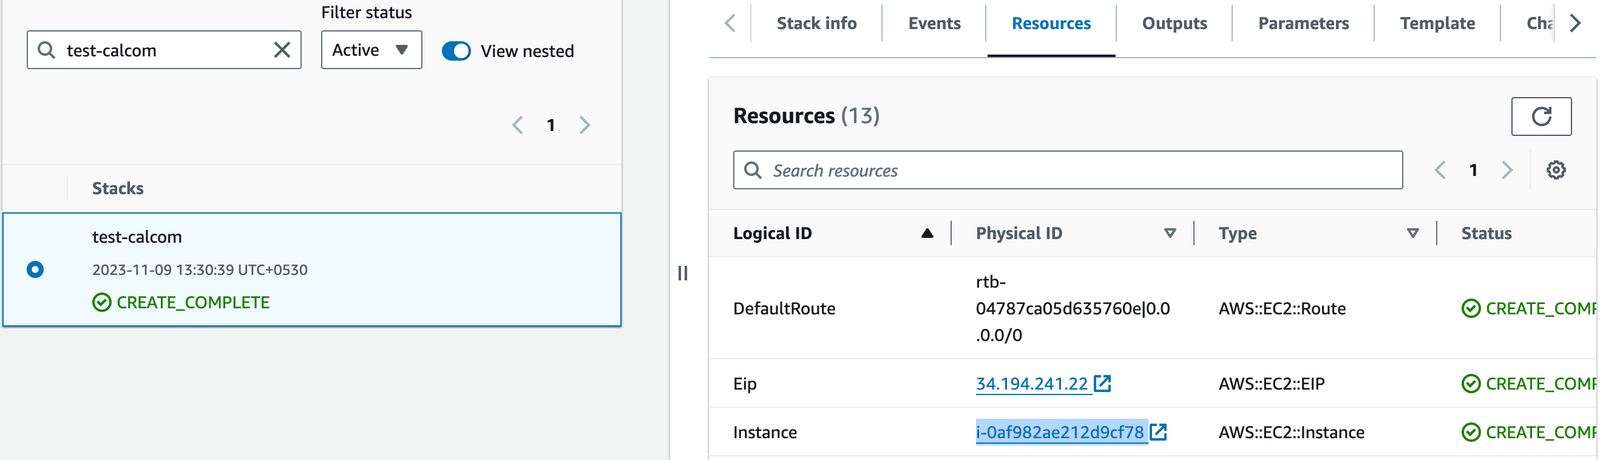
- In the CloudFormation stack's Resources tab, click the link for the Instance to go to the EC2 console.
- Select the instance and use the Instance state dropdown to Stop instance or Start instance.

Removing the Deployment
To completely remove the Cal.diy application and all associated resources, simply delete the CloudFormation stack from the AWS console.
API Documentation
Cal.diy is built on the same codebase as Cal.com and exposes a powerful REST API that allows you to control the entire platform programmatically. You can find self-hosting documentation here:
Official Cal.diy Self-Hosting Documentation
Upgrading Your Instance
We regularly update our AMI with the latest version of Cal.diy. To upgrade, you can launch a new instance with the newer version and migrate your data. Remember to back up your server data before removing the old instance.
Troubleshooting Common Issues
- vCPU Quota Error: If you see an error about vCPU limits, please follow this guide to request an increase.
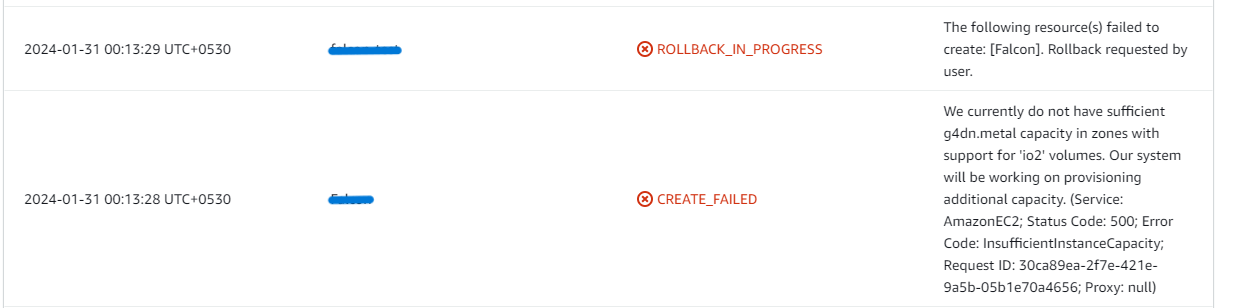
- Insufficient Capacity: If you get an "insufficient instance capacity" error, try launching the stack in a different AWS region or at a later time.
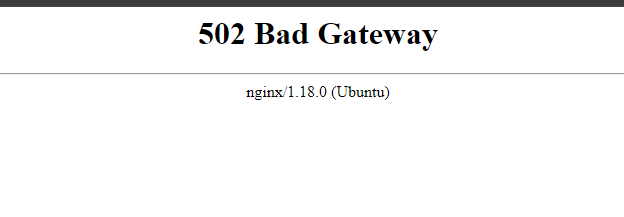
- Dashboard Error on First Load: If the dashboard doesn't load immediately, wait 5-10 minutes for the services to initialize and then try again.
Conclusion
Congratulations! You have successfully deployed Cal.diy on your AWS account. With this self-managed setup, you have full control over your scheduling infrastructure, data, and branding. Cal.diy is best suited to personal projects and non-production use; if you need a production-grade scheduling platform with official support, the managed Cal.com SaaS product is the better fit.
Technical Support
If you run into any issues, our support team is here to help. Reach out to us at support@meetrix.io.
Frequently Asked Questions
Can I use my own domain name?
Yes. Our solution is designed for you to connect your custom domain. The deployment guide provides clear instructions for DNS configuration.
Is my data secure?
The entire environment runs within your own AWS account, giving you control over your data, network security, and access policies. As with any self-hosted open-source project, you are responsible for hardening and patching your own instance.
Can I install custom plugins?
Yes, you have full administrative access to your Cal.diy instance to install and manage plugins as needed.
How do I scale the application?
The deployment is built on scalable AWS infrastructure. You can upgrade your EC2 instance type or configure auto-scaling groups for higher traffic loads. Note that Cal.diy is officially recommended for personal and non-production use; for production-grade scheduling at scale, consider the managed Cal.com SaaS product instead.
Is Cal.diy the same as Cal.com?
Cal.diy is the open-source, MIT-licensed community edition that used to be self-hosted as Cal.com. Cal.com is now a closed-source commercial SaaS product, while Cal.diy continues as the free, self-hostable open-source project.
Ready to Launch Your Own Scheduling Platform?
Get started in minutes with our pre-configured AMI and take control of your scheduling.
Deploy Cal.diy from AWS Marketplace